There is a specific kind of panic that hits when you are at the airport security line, realizing you might have left your insulin essential medication for managing blood glucose levels in diabetes in the checked bag. Or worse, you land in a new time zone and realize your continuous glucose monitor (CGM) sensor has failed because it got too hot in transit. Traveling with diabetes adds a layer of logistical complexity that non-diabetics rarely consider. You aren't just packing clothes; you are packing your life support system.
The goal here isn't to make you anxious, but to make you prepared. With the right strategy, you can enjoy your trip without constant medical anxiety. This guide covers exactly what to pack, how to protect your supplies from temperature extremes, and how to navigate airport security smoothly.
Key Takeaways
- Double everything: Always pack twice the amount of insulin, sensors, and test strips you think you need to account for delays or lost luggage.
- Carry-on only: Never check insulin or critical diabetes supplies. Checked baggage compartments can freeze or overheat, ruining your medication.
- Temperature control: Use cooling wallets like the Frio sleeve for summer travel and insulated bags for winter to keep insulin between 40°F and 86°F.
- TSA preparation: Declare your supplies immediately at security. Carry a doctor’s letter and a TSA Disability Notification Card to speed up screening.
- Backup plan: Bring backup syringes if you use a pump, and verify that your destination country uses U-100 insulin concentration.
The Golden Rule: Pack Double
If you take away only one piece of advice from this article, let it be this: pack double. It sounds excessive, but travel is unpredictable. Flights get delayed, luggage gets lost, and emergencies happen. According to guidelines from the American Diabetes Association and major healthcare providers like Byram Healthcare, carrying twice your expected supply is the standard for safe travel.
Why double? Because buying replacement supplies abroad is risky. Many countries outside the US and UK use different insulin concentrations. While the US standard is U-100, many European and Asian markets still sell U-40 or U-80 insulin. Using the wrong concentration with your current dosing regimen can lead to dangerous overdoses or underdoses. Beyond Type 1 has documented cases of travelers facing serious health issues because they purchased local insulin without understanding these differences.
So, calculate your daily usage for the trip duration, then multiply by two. If you are going for seven days, pack enough for fourteen. Yes, it adds weight. No, it is not worth the risk of running out.
Packing Insulin Correctly
Insulin is fragile. It needs to stay within a specific temperature range-typically between 40°F and 86°F (4°C to 30°C)-to remain effective. Extreme cold can freeze it, destroying its molecular structure. Extreme heat can degrade it, making it less potent. Both scenarios mean your blood sugar could spike dangerously.
| Product Type | Best For | Pros | Cons |
|---|---|---|---|
| Frio Insulin Cooling Sleeve | Summer/Hot Climates | No ice needed, reusable, passive cooling | Requires freezing water beforehand, takes up space |
| Sugar Medical Insulated Bag | General Travel/Airports | Keeps temp stable for hours, discreet | Does not actively cool, relies on ambient temp |
| Soft Cooler with Ice Packs | Long Trips/Camping | Very effective cooling, versatile | Bulky, ice packs may melt, risk of freezing insulin if touching pack |
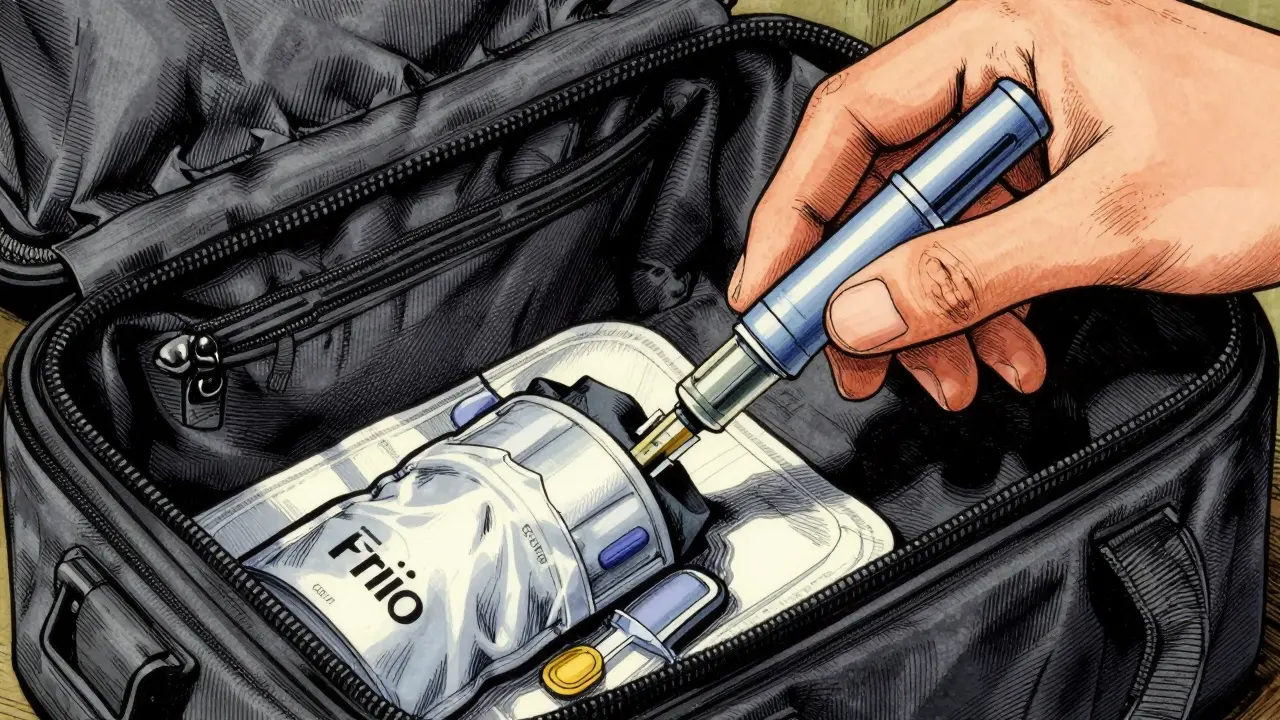
For summer travel or trips to hot destinations, the Frio Insulin Cooling Sleeve a passive cooling device that uses phase-change material to keep insulin cool without refrigeration is a game-changer. It works by absorbing heat through evaporation. You soak it in water, squeeze it out, and place your insulin inside. It keeps insulin cool for days without needing ice. Just remember to re-soak it every few days.
In colder climates, the danger is freezing. Keep your insulin in an inner pocket close to your body heat, or use an insulated bag. Never let insulin touch ice directly. A thin barrier like a sock or towel prevents freezing damage.
CGM Sensors and Transmitters
Continuous Glucose Monitors (CGMs) like Dexcom or Abbott FreeStyle Libre are essential for many travelers, but they are sensitive to pressure and temperature. A common issue during travel is sensor failure due to friction from backpacks or seatbelt straps, or simply the stress of air pressure changes.
When packing your CGM supplies, follow these steps:
- Bring extra sensors: For a week-long trip, bring at least three extra sensors. Sensors can fail randomly, and you don't want to be stuck waiting for a replacement to ship.
- Protect the adhesive: Use waterproof tape like Skin Grip CLEAR or Tegaderm to secure the sensor. This prevents it from peeling off during swimming, sweating, or long flights.
- Transmitter backups: If your transmitter is separate from the sensor, bring a spare. Transmitters can die unexpectedly, and finding a replacement abroad can be difficult.
- Calibrate before flying: Check your CGM readings against a fingerstick test before departure. Ensure the app is syncing correctly. Airplane mode can sometimes disrupt Bluetooth connections, so know how to manually upload data if needed.
Some travelers report that placing their CGM receiver or phone in airplane mode causes sync issues. Test this at home first. Know how to read your glucose levels manually if the app fails.
Navigating Airport Security (TSA Guidelines)
Airport security can be stressful for anyone, but for diabetics, it involves declaring medical supplies. The Transportation Security Administration (TSA) allows all diabetes-related supplies through checkpoints. However, you must declare them.
Here is how to handle security smoothly:
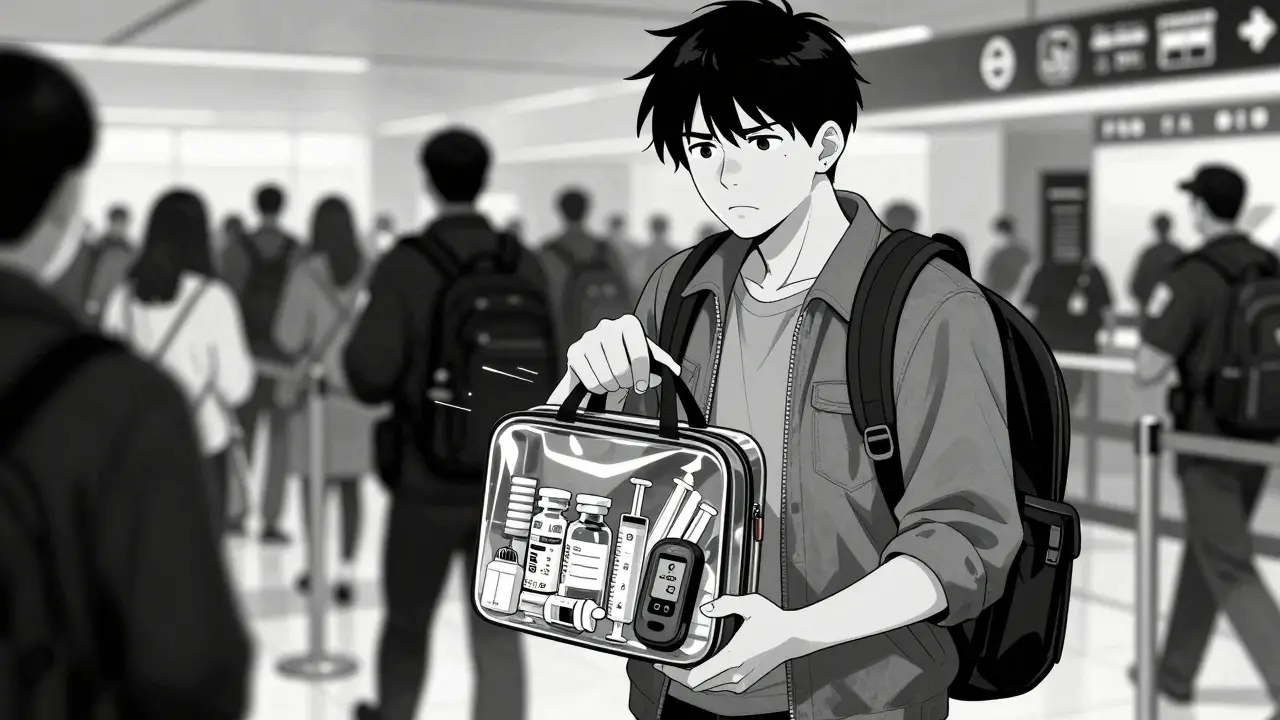
- Separate your supplies: Put all liquids (insulin, alcohol wipes), medications, and devices in a clear, sealable bag. This speeds up screening significantly. Data shows travelers who do this experience 28% faster processing times.
- Declare immediately: Tell the officer, "I have diabetes and need to carry insulin and medical equipment." Do not wait to be asked.
- Carry a doctor's letter: Dr. Anne Peters, a leading diabetes expert, emphasizes that a letter from your doctor is the most overlooked item. Include your diagnosis, insulin type, dosage, and emergency contact info. This proves your supplies are medically necessary.
- Use a TSA Disability Notification Card: These small cards explain your condition to officers. Studies show they reduce screening delays by 42%. You can download them from the ADA website.
- Expect additional screening: Your insulin vials or pumps may go through X-ray or swab testing. This is normal. Do not be alarmed. You can request a visual inspection if you prefer not to X-ray your devices, though most modern scanners are safe.
If you use an insulin pump, you may need to remove it for screening. Some airports allow you to walk through the metal detector while wearing it, but policies vary. Be prepared to take it off if requested.
Snacks and Hypoglycemia Management
Low blood sugar (hypoglycemia) is the most common travel-related emergency. It often happens during long flights, layovers, or when meals are delayed. You need fast-acting carbs readily available.
Forget bulky glucose tablets. They are inconvenient and tasteless. Instead, opt for compact, high-energy options:
- Fruit leathers: Pure organic fruit leathers are lightweight, non-perishable, and easy to eat. A 4x6 inch pack weighs about 0.5 ounces and provides quick sugar.
- Honey packets: Available at most cafes and restaurants, but always carry your own backup.
- Hard candy: Small, durable, and effective. Keep a few in your pocket or purse.
- Juice boxes: TSA allows reasonable quantities of juice for medical reasons. Declare them at security.
First-time travelers often underestimate snack needs by 40-60%. Pack more than you think you'll eat. When you're low, you need immediate access, not a search through your suitcase.

Documentation and Emergency Prep
Your physical supplies are vital, but documentation is your safety net. Without proper papers, you could face legal issues or denial of entry in some countries.
Create a "Diabetes Travel Kit" folder containing:
- Doctor's Letter: As mentioned, include care routine, insulin-to-carb ratios, and correction factors.
- Prescription Copies: Keep digital and physical copies of all prescriptions. Match the names on the bottles to the letters.
- Insurance Information: Carry your insurance card and details of any international coverage. Know how to file a claim for medical emergencies abroad.
- Emergency Contacts: List your endocrinologist, local emergency services in your destination, and a trusted family member.
If you are traveling internationally, research the healthcare system in your destination. In some countries, you may need to pay out-of-pocket for urgent care. Consider travel insurance that specifically covers pre-existing conditions like diabetes.
Time Zone Changes and Adjustments
Crossing time zones messes with your body clock and your insulin schedule. If you travel east, your days shorten; west, they lengthen. This affects when you take insulin and eat meals.
Plan ahead. For each time zone crossed, adjust your basal insulin and mealtime doses gradually. Consult your doctor before the trip for a personalized adjustment plan. Generally, it takes 15-20 minutes of planning per time zone to map out your new schedule. Use a world clock app to track both home and destination times until you adjust.
Final Checklist Before You Go
Before you leave, run through this final check:
- [ ] Double supply of insulin packed in carry-on?
- [ ] Extra CGM sensors and transmitters?
- [ ] Doctor's letter and TSA card in wallet?
- [ ] Backup syringes (if using a pump)?
- [ ] Snacks for lows in every bag?
- [ ] Insulin cooling solution ready?
- [ ] Post-it note on door reminding you to grab insulin?
That last tip-the post-it note-is surprisingly effective. Many people forget their insulin in the rush to leave. A simple reminder on the front door can prevent a disaster.
Can I put my insulin in checked luggage?
No, never put insulin in checked luggage. The cargo hold can reach temperatures below 40°F, which freezes and destroys insulin effectiveness. The American Diabetes Association strongly advises keeping all diabetes medications in your carry-on bag where you can monitor the temperature.
Do I need a doctor's letter for domestic flights?
While not always legally required for domestic flights, a doctor's letter is highly recommended. It helps TSA officers understand your medical needs quickly, reducing screening time and potential misunderstandings. For international travel, it is often mandatory.
What should I do if my insulin pump breaks while traveling?
Always carry backup syringes and vials of insulin. If your pump fails, switch to manual injections immediately. Most major pump manufacturers like Tandem Diabetes Care and Insulet offer loaner pump programs for overseas travel. Register for these programs before you depart.
How do I keep my CGM sensor secure during travel?
Use waterproof medical tape like Skin Grip CLEAR or Tegaderm to reinforce the sensor adhesive. Avoid placing heavy backpacks or seatbelts directly over the sensor site. Check the sensor regularly for signs of peeling or irritation.
Is it safe to buy insulin abroad?
It is risky. Many countries use different insulin concentrations (U-40 or U-80) compared to the US standard (U-100). Using the wrong concentration can lead to severe overdose or underdose. Only buy insulin abroad if you are certain of the concentration and have consulted your doctor. Always carry your own supply as a primary source.